Every WP SiteKit Managed Website comes with the email newsletter tool, MailPoet. It is set up with a template to match your company brand and ready for you to create and send your business email newsletters. Here are the instructions for you to publish a newsletter with MailPoet.
1. Log in to WordPress
Log in to your WordPress website.
2. Open MailPoet
Go to WP Admin > MailPoet
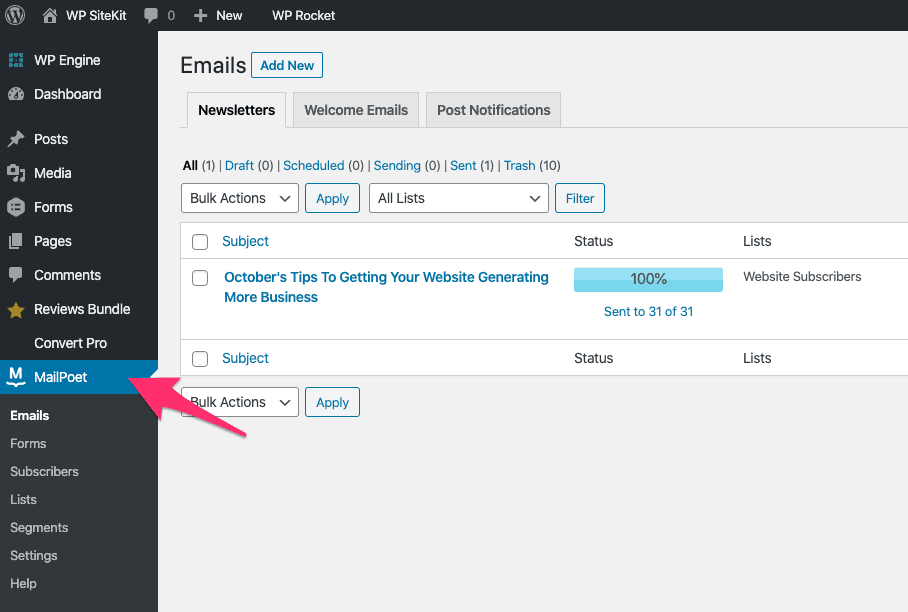
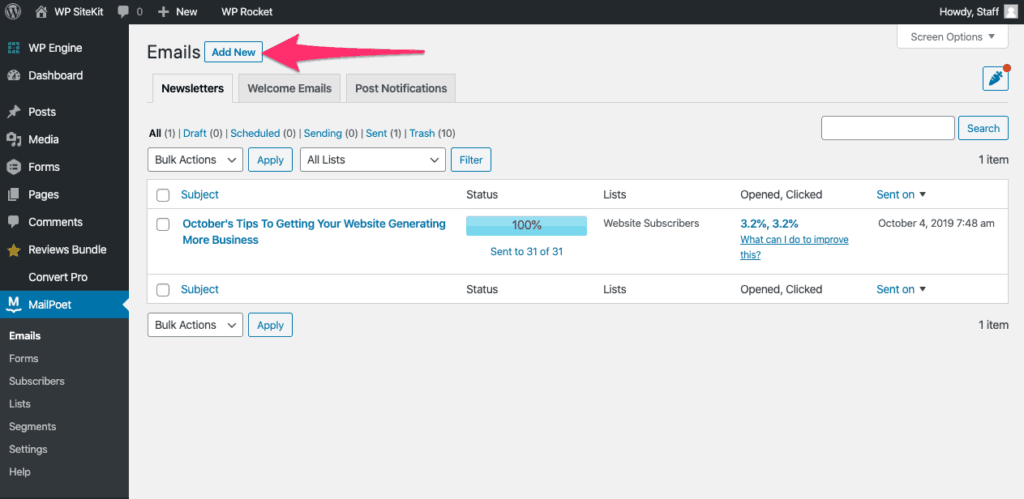
3. Click “Add New”
Click the “Add New” button
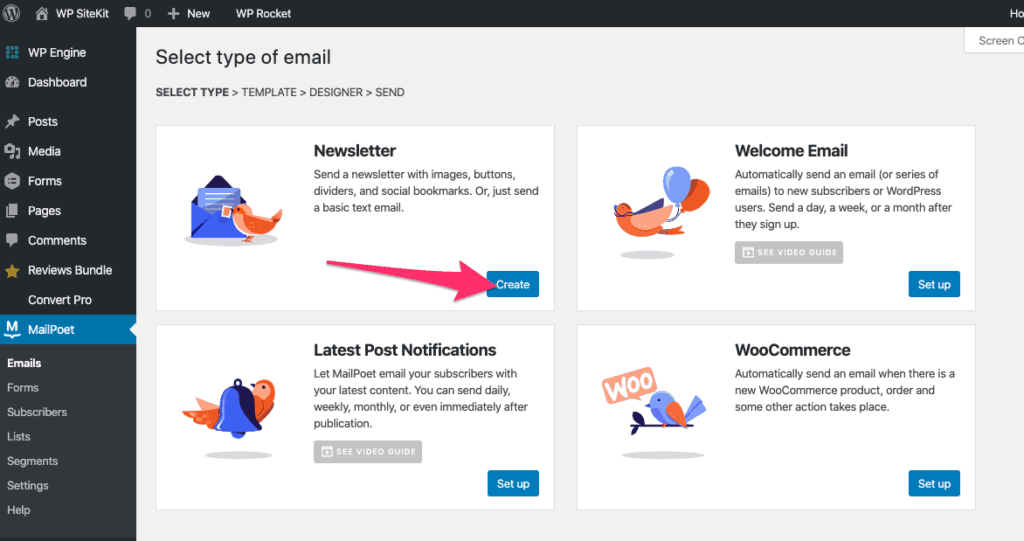
4. Create a Newsletter
Under Newsletter click the “Create” button
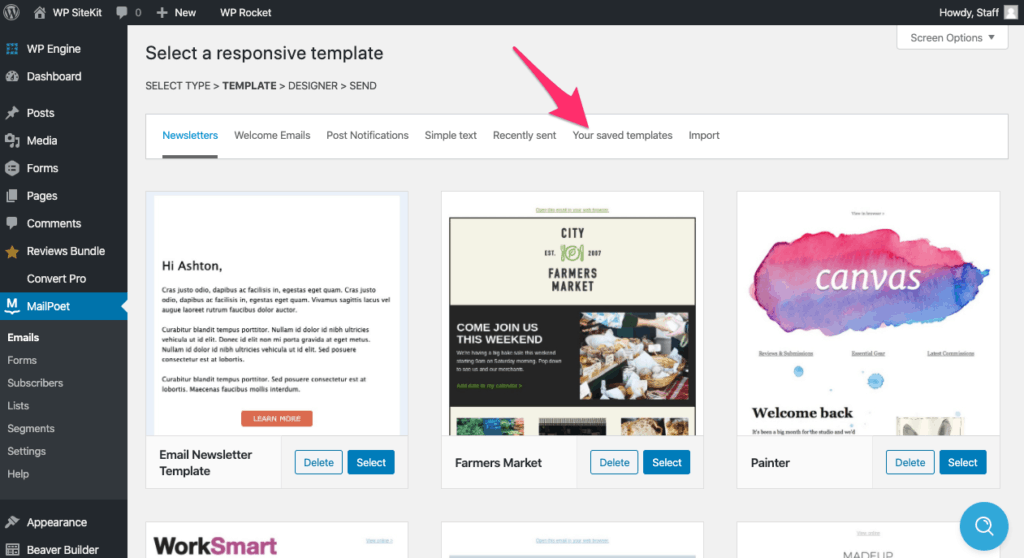
5. Choose “Your saved templates” Tab
Click click on the “Your saved templates” to see only the saved templates.
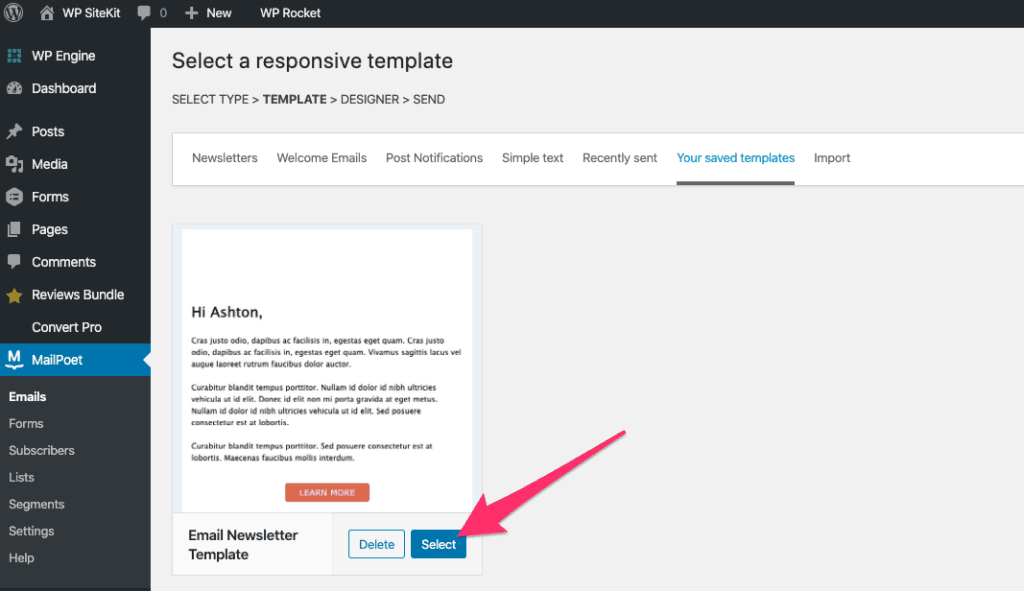
6. Select Your Template
As a client of WP SiteKit we should have created a custom branded template for you. Let us know if you need any changes to it.
Select the email template we custom designed for you by clicking the select button.
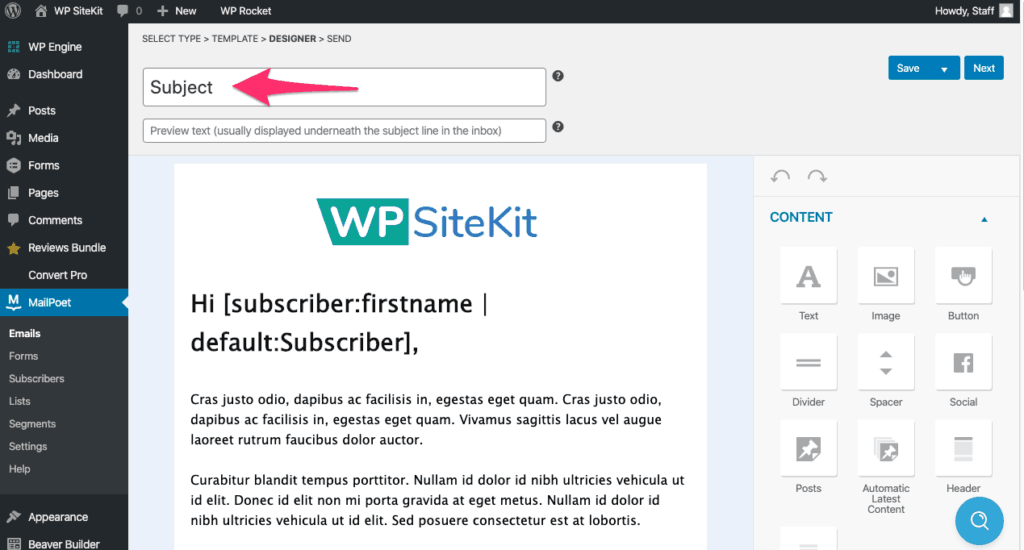
7. Type the email Subject
Type the subject line of your email newsletter.
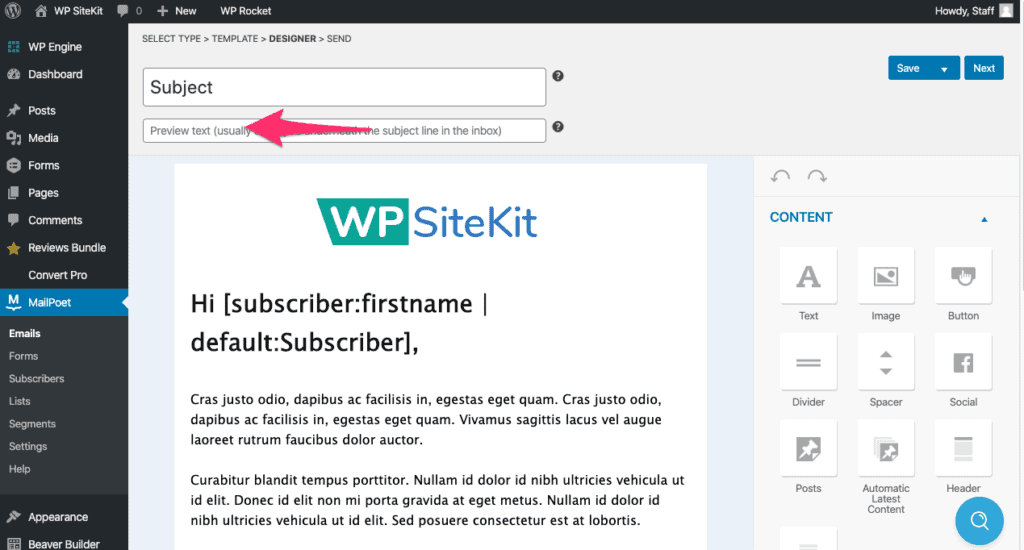
8. Type the Preview Text (optional)
The preview text is the shown to the reader under the subject line under their email reading program. It’s optional.
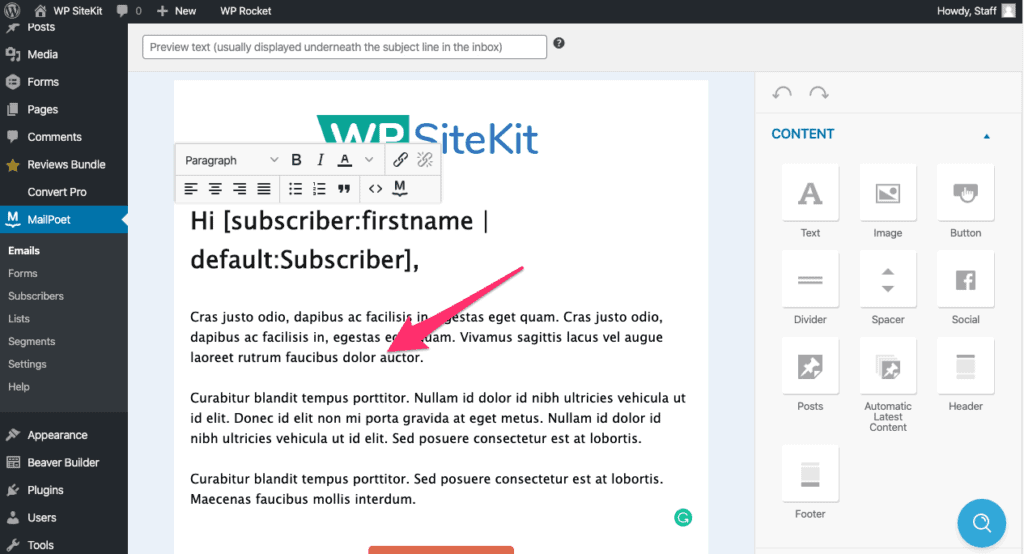
9. Edit Intro Paragraph Text
Click on the intro paragraph text to edit it and type or paste your content.
10.Add Links
To add a link first select the text you want to link out.
Click the link button.
Enter the link URL. 
11. Add an Image (optional)
If you want, you can add an image.
Start by dragging the image icon from the right column to where you want the image to appear. It must be above or below the current block of text. You can not add an image in the middle of a block of text.

12. Add an Additional Paragraph of Text
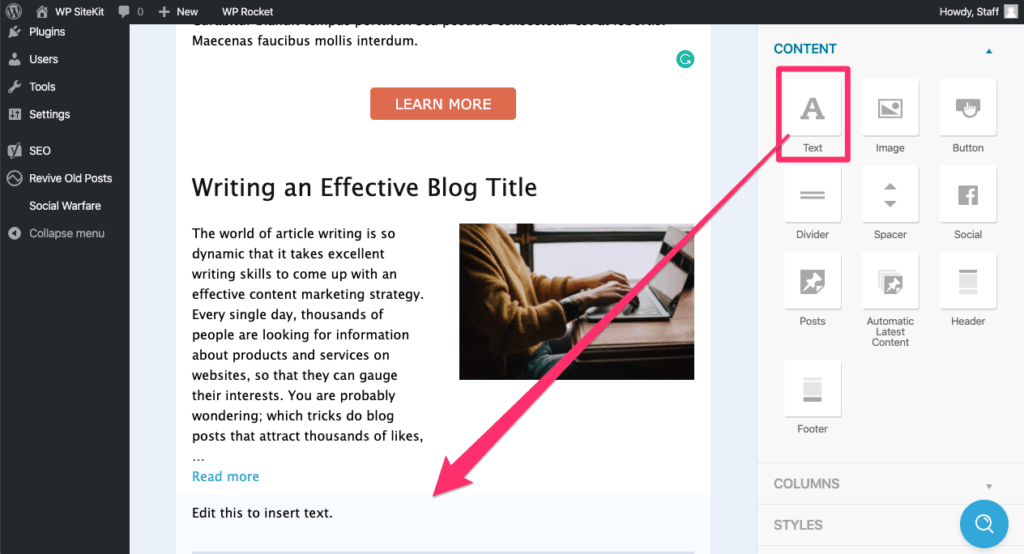
Add another paragraph by dragging the Text Module from the right and dropping it near the bottom of your newsletter where you want to paragraph. Click on the text to edit it.
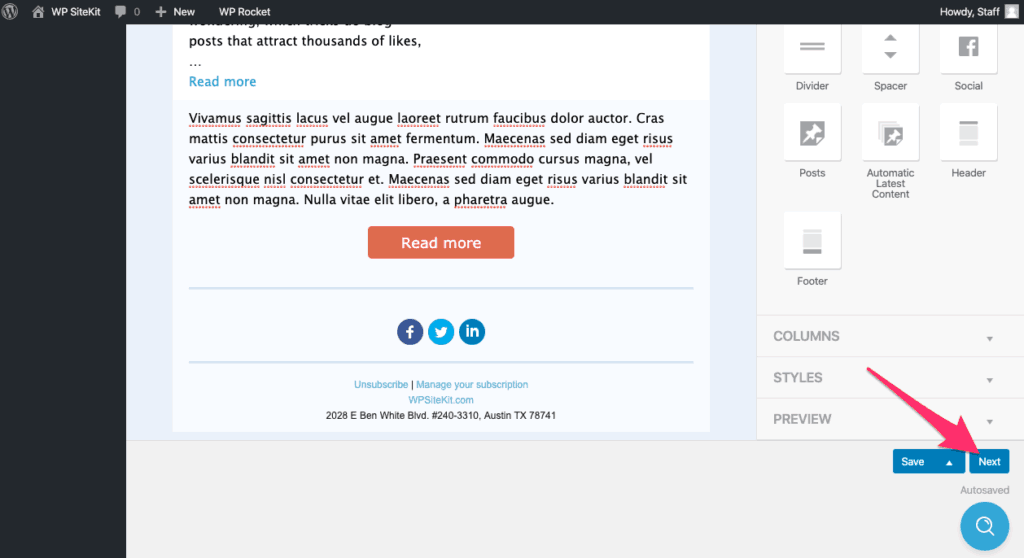
13. Click the Next Button When You’re Finished
When you finished editing your newsletter, click the “Next” button.
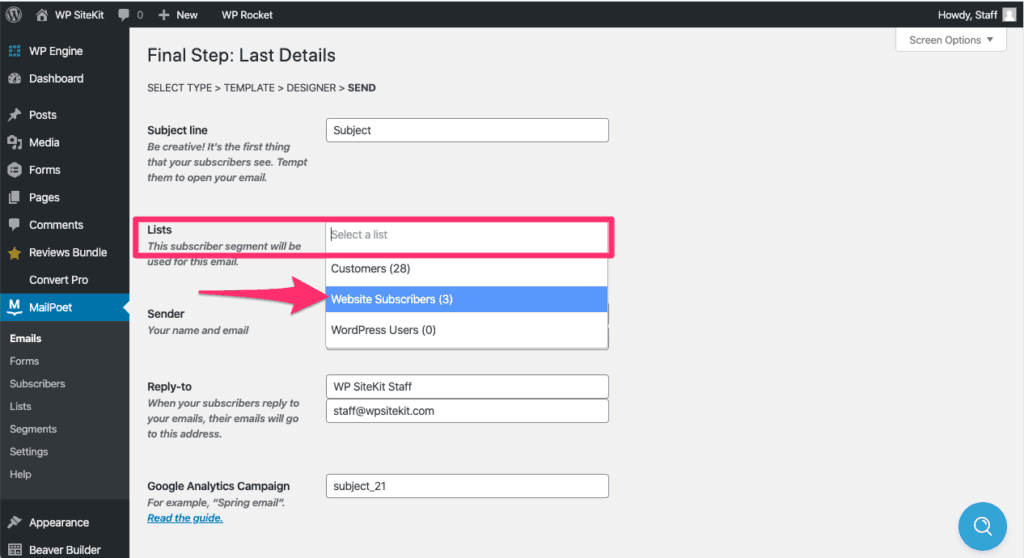
14. Choose List: Website Subscribers
On the Final Step under Lists choose Website Subscribers.
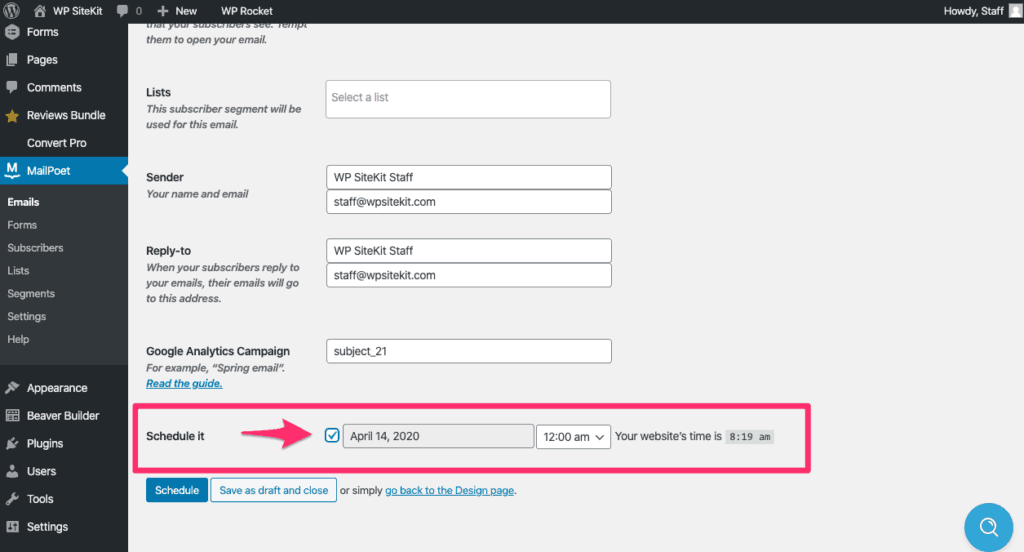
15. Choose to Schedule It For Later or Send It Now
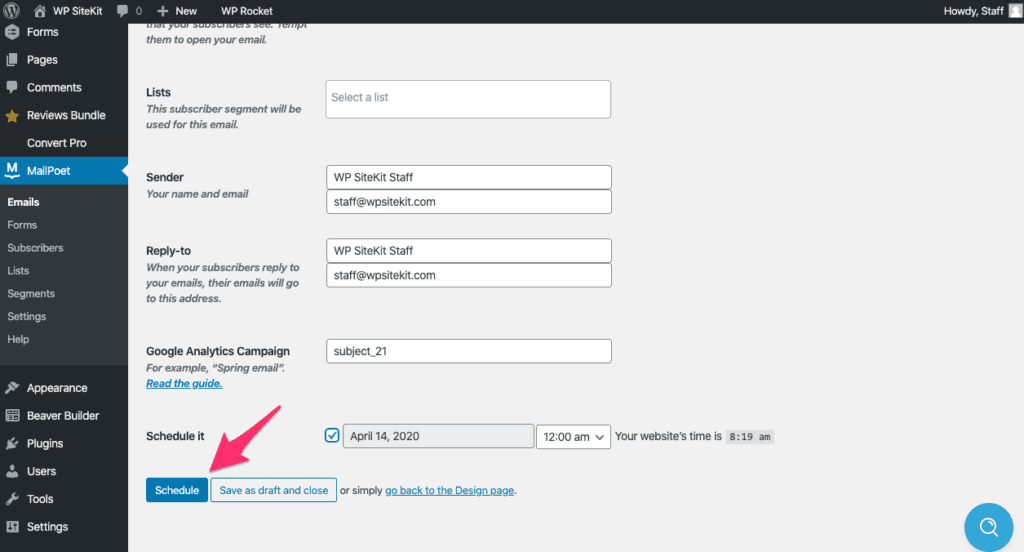
(Optional) Click the “Schedule it” check box and choose a date and time to send your newsletter.
16. Click the Schedule or Send Button
Click the Schedule or Send button to finish the process.
